The Essential Guide to Home Improvement for Beginners
Stepping into the world of home improvement can feel like entering a labyrinth of power tools, confusing terminology, and endless aisles at the hardware store. However, home improvement isn’t just for seasoned contractors or those with a natural knack for carpentry. For beginners, the journey of DIY home renovation is an empowering way to increase property value, save money, and truly personalize a living space.
Whether you have just purchased your first “fixer-upper” or you simply want to refresh your long-term residence, this guide will walk you through the essentials of home improvement. From building your first toolkit to knowing when to call in the professionals, here is everything you need to know to get started.
1. The Mindset: Planning and Budgeting
The biggest mistake beginners make isn’t a crooked shelf or a bad paint job; it’s failing to plan. Before you pick up a hammer, you need a roadmap. Home improvement projects often take longer and cost more than initially anticipated.
Assessing Your Needs vs. Wants
Start by walking through your home with a notebook. List every repair or upgrade you envision. Once the list is complete, categorize them into “Must-Haves” (leaky faucets, peeling paint, safety issues) and “Nice-to-Haves” (new backsplash, smart lighting). Focus on the “Must-Haves” first to protect the integrity of your home.
Setting a Realistic Budget
Research the cost of materials online. A good rule of thumb for beginners is to calculate your estimated costs and then add a 15% to 20% “contingency fund.” This buffer covers unexpected issues, such as discovering mold behind a wall or accidentally breaking a component during installation.
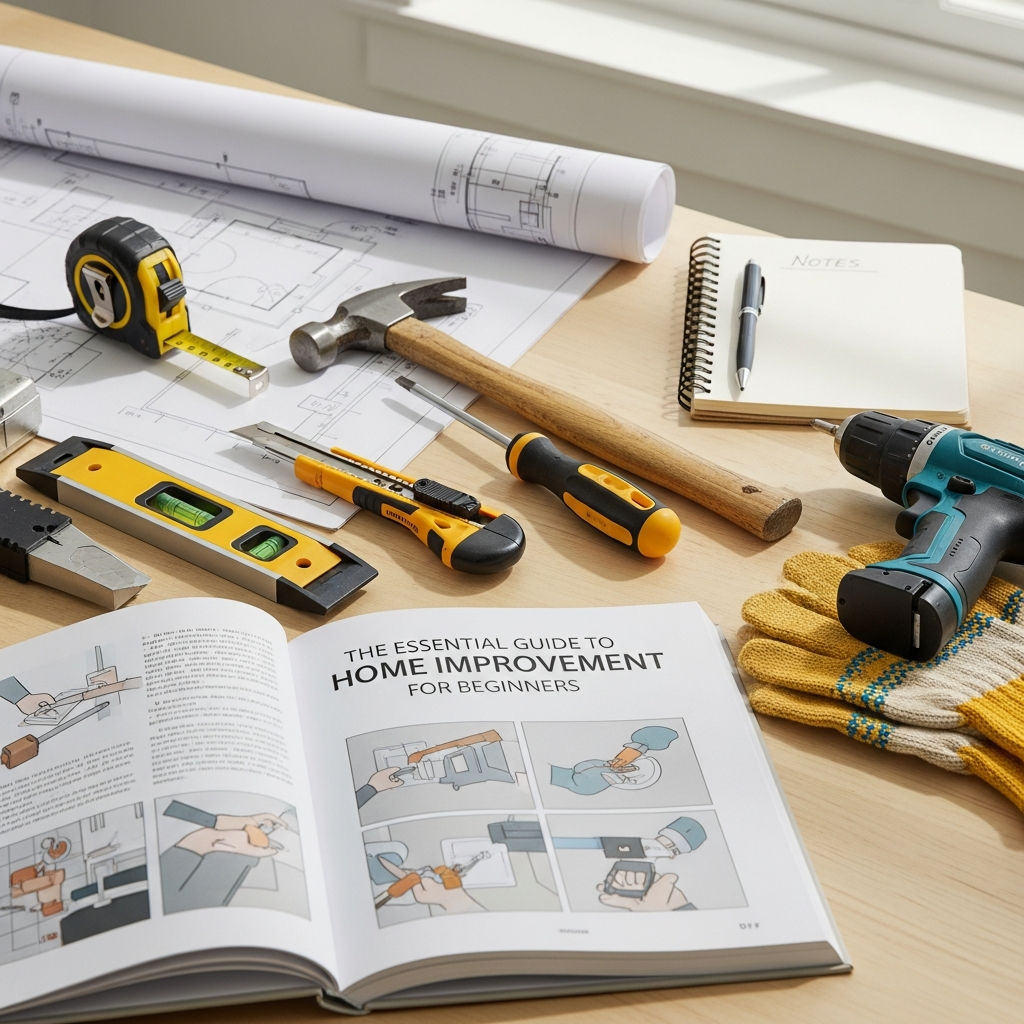
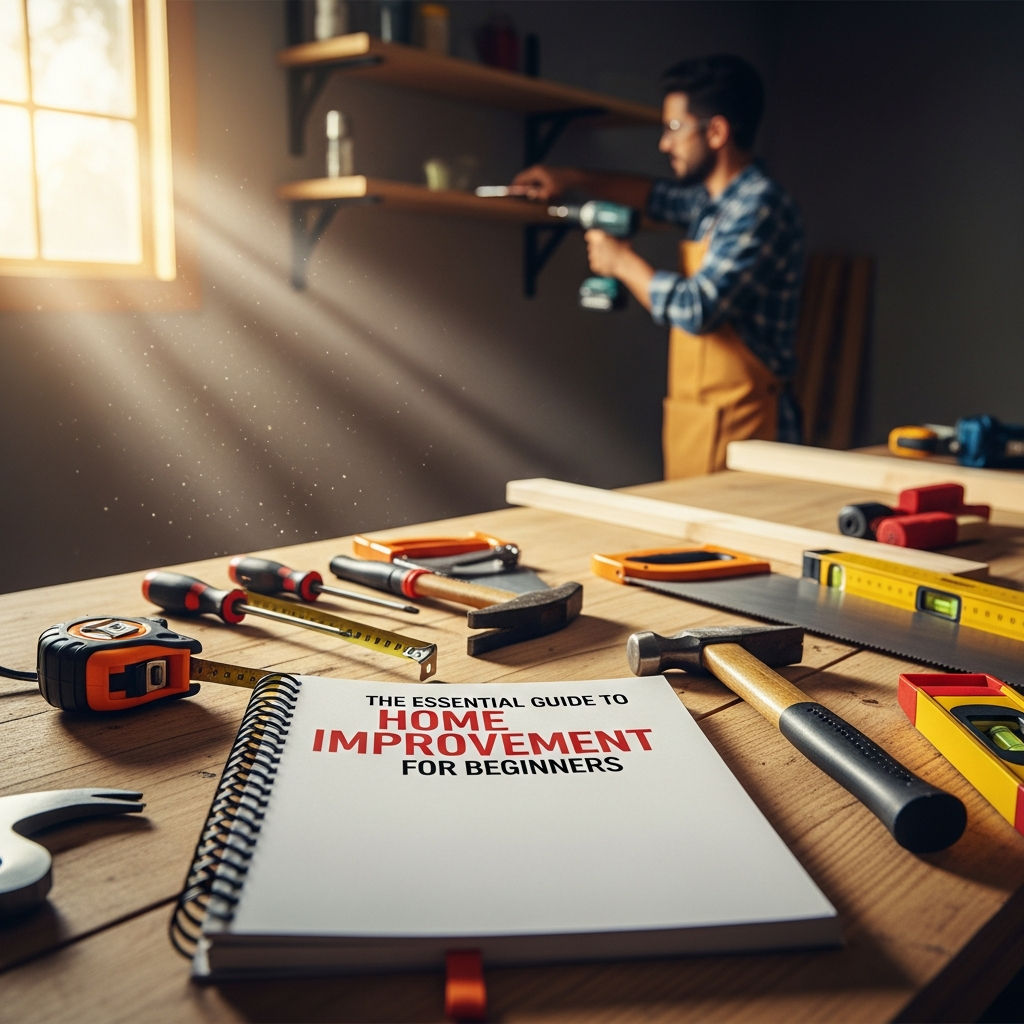
2. The Beginner’s Essential Toolkit
You don’t need a garage full of heavy machinery to start. A few high-quality, versatile tools will carry you through 80% of beginner projects. Invest in quality over quantity; cheap tools often break or cause damage to the materials you are working on.
- Measuring Tape: A 25-foot locking tape measure is the industry standard.
- Power Drill: A cordless 18V drill is perhaps the most useful tool you will ever own.
- Screwdriver Set: Ensure you have various sizes of both Phillips and flat-head drivers.
- Hammer: A 16-ounce claw hammer is perfect for most household tasks.
- Level: Essential for hanging pictures, shelves, and cabinets straight.
- Utility Knife: For cutting drywall, boxes, and trimming materials.
- Safety Gear: Never work without safety goggles, ear protection, and work gloves.
3. High-Impact “Quick Wins” for Beginners
If you are nervous about your first project, start with “quick wins.” These are tasks that require minimal technical skill but offer high visual impact and a sense of accomplishment.
Fresh Paint: The Ultimate Transformer
Painting is the most cost-effective way to change the vibe of a room. For beginners, the key is preparation. Spend time taping off edges with painter’s tape, laying down drop cloths, and cleaning the walls. A high-quality primer and two coats of premium paint will make a DIY job look professional.
Updating Cabinet Hardware
You would be surprised how much a kitchen or bathroom is transformed by simply swapping out dated brass handles for modern matte black or brushed nickel pulls. This requires nothing more than a screwdriver and an hour of your time.
Improving Curb Appeal
First impressions matter. Beginners can tackle landscaping by adding mulch, planting perennials, or painting the front door. These projects increase “curb appeal,” which is vital for home valuation.
4. Intermediate Projects: Stepping Up Your Skills
Once you are comfortable with basic tools, you can move on to projects that require more precision and a bit of “sweat equity.”
Installing a Tile Backsplash
A kitchen backsplash is a fantastic “level up” project. Using “peel and stick” glass tiles is a great way to start, but even traditional tiling with thin-set mortar and grout is achievable for a patient beginner. It teaches you about spacing, alignment, and finishing.
Upgrading Light Fixtures
Swapping an old, dusty ceiling fan for a modern chandelier can change the entire aesthetic of a dining room. Safety Note: Always turn off the power at the breaker box before touching any electrical wires. If the wiring looks frayed or confusing, this is the point where you should consult an expert.
Lay Down Luxury Vinyl Plank (LVP) Flooring
Modern LVP flooring often comes with a “click-lock” system, making it very beginner-friendly. It mimics the look of hardwood but is waterproof and much easier to install. It’s a great project for a bedroom or a small basement area.
5. When to Call the Professionals
Part of being an expert at home improvement is knowing your limits. Some DIY mistakes can be expensive to fix, while others can be dangerous. You should generally hire a licensed contractor for the following:
- Major Electrical Work: Adding new circuits or messing with the main panel.
- Structural Changes: Never knock down a wall without knowing if it is “load-bearing.” Doing so could cause your ceiling to sag or collapse.
- Gas Lines: Any work involving gas ranges or water heaters must be handled by a pro due to the risk of leaks or explosions.
- Roofing: Aside from the height risk, improper roofing can lead to water damage that ruins the rest of your interior renovations.
6. Top Tips for DIY Success
To ensure your projects go smoothly, keep these three golden rules in mind:
Measure Twice, Cut Once
This is the oldest adage in construction for a reason. Mistakes in measurement lead to wasted materials and frustration. Check your numbers, mark your spot, and then check them one more time before making a cut.
Leverage Digital Resources
We live in the golden age of DIY. If you are stuck on a project, YouTube is your best friend. Search for the specific brand of the product you are installing; often, the manufacturer has a step-by-step video guide available.
Don’t Rush the Finishing Touches
The difference between a “DIY-looking” project and a professional one is the finish. Taking the time to caulk the gaps, sand the rough edges, and touch up the paint will make your hard work shine.
7. Sustainable Home Improvements
As a beginner, it is also wise to look at projects that save you money in the long run. Energy-efficient upgrades are increasingly popular and often come with tax incentives.
- Weatherstripping: Sealing gaps around doors and windows to prevent heat loss.
- Smart Thermostats: Installing a Nest or Ecobee can lower your utility bills by optimizing your HVAC usage.
- LED Lighting: Replacing incandescent bulbs with LEDs reduces energy consumption and bulb replacement frequency.
Conclusion
Home improvement for beginners is a journey of trial and error. You will likely make mistakes, but those mistakes are the best teachers. By starting small, investing in the right tools, and planning your budget carefully, you can transform your house into a home that reflects your style and meets your needs.
Remember, every expert was once a beginner. Pick up that paintbrush or drill, stay patient, and enjoy the process of building something with your own two hands. Your home (and your wallet) will thank you.